How to Export a Clean STEP or DXF for Instant Quoting
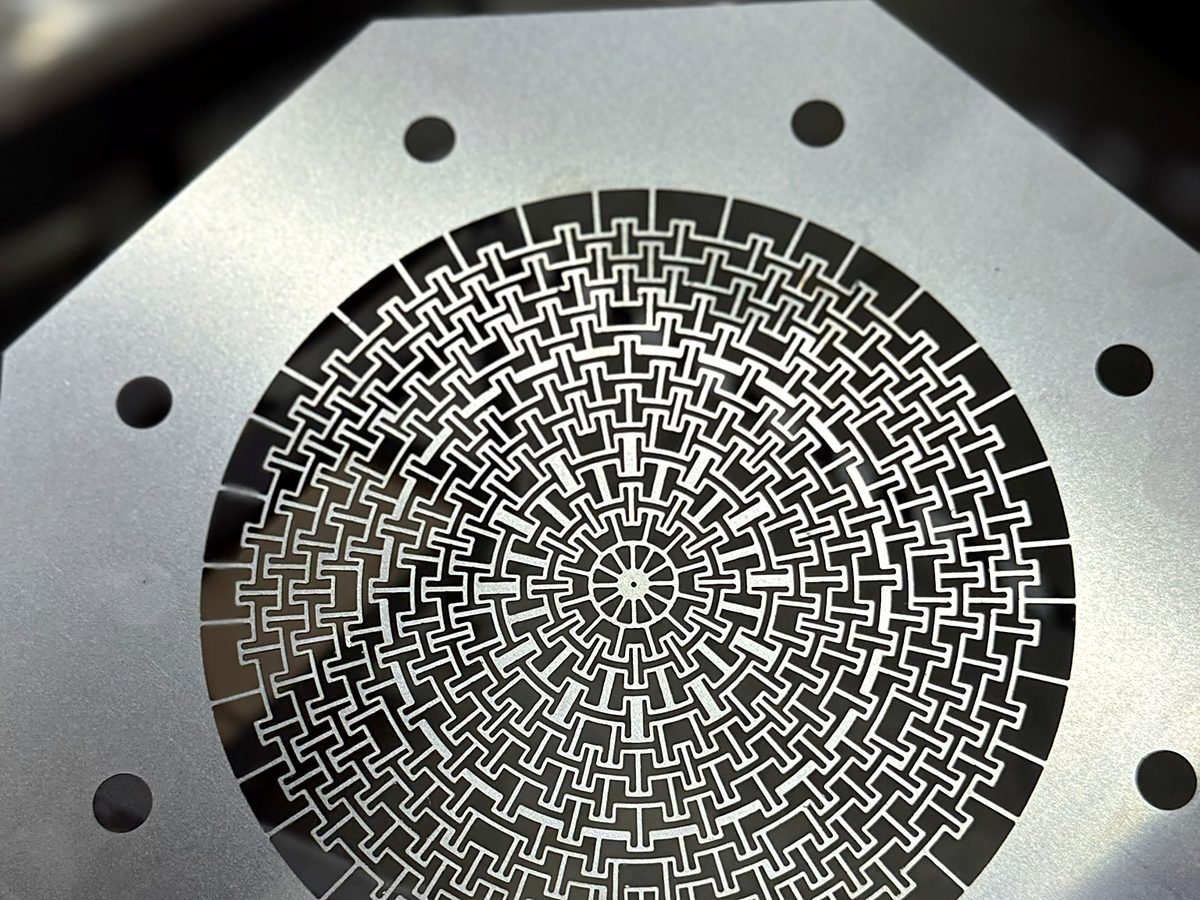
The single biggest reason a quote gets kicked from instant to manual review is a messy file. The good news is that a clean export takes about two minutes once you know the settings. This guide covers exactly how to export from SolidWorks, Fusion 360, and Onshape, plus the DXF rules that keep an automated quote reading your part correctly.
For the official rules this all maps to, keep the File Guidelines open in another tab. When your file is ready, it goes straight into the quote portal.
First decide: STEP or DXF?
This one choice prevents most problems. The rule is simple:
- Use STEP for any formed part, or any part with three dimensional geometry. STEP carries the true shape and scale, so the bends come through and nobody has to guess. Files end in .step or .stp.
- Use DXF only for a part that is genuinely flat with no bends. A DXF is two dimensional, so it cannot describe a formed part.
Part 1: Exporting a STEP file
STEP is the preferred format for almost every part. Export the solid body, not a surface or a mesh, and let the file keep its model scale. STEP carries scale whether you model in inches or millimeters, so there is nothing to convert.
SolidWorks
File, then Save As. Set the file type to STEP AP214. Click Save. That is it, the whole solid exports at scale.
Fusion 360
Right click the component in the browser, or use File, Export. Choose STEP as the type, confirm the body, and export.
Onshape
Right click the Part Studio tab, or the part in the list, and choose Export. Pick STEP as the format and export at 1:1.
Part 2: Exporting a DXF for flat parts
A DXF works only for flat parts, and it has to be clean. An automated quote reads the outline and holes directly from the geometry, so anything extra in the file, dimensions, borders, stray lines, confuses it. Export at 1:1 scale with only the finished cut geometry.
SolidWorks flat pattern
On a sheet metal part, right click the flat pattern and choose Export to DXF, or Save As DXF. Export the flat pattern only, at 1:1, and keep just the cut geometry.
Fusion 360 sketch
Create or select the flat sketch, right click it, and choose Save As DXF. Confirm the scale is 1:1 before saving.
Onshape drawing or sketch
Export the sketch or a 1:1 drawing view as DXF. Include only the part outline and holes, no dimensions or annotations.
Common mistakes that get a file flagged
- Wrong scale. A DXF exported at anything other than 1:1 quotes the wrong size. Always confirm 1:1.
- Nested sheets. Several parts on one DXF cannot be priced automatically. One part per file.
- Duplicate or overlapping lines. Two lines on top of each other read as a double cut. Clean them up.
- Open contours. An outline that does not close leaves the software unsure what is a cut. Make sure profiles are closed.
- Extra geometry. Dimensions, text, title blocks, and construction lines all get read as cuts. Delete them.
- Countersink drawn as two circles. Show the through hole only, and call out the countersink as an operation.
What the file cannot tell us
Geometry describes the shape, but it does not describe the work. Tapping, countersinks, counterbores, hardware, deburring, marking, and finishing do not live in the STEP or DXF. Attach a PDF and add quote notes to explain them, then select each operation in the quote, because on an automated platform notes and attachments do not add an operation on their own.
Quick export checklist
- Formed or 3D part: STEP of the solid body, at model scale
- Flat part only: DXF at 1:1, finished cut geometry only
- One unique part per file, no nested sheets
- DXF stripped of dimensions, title blocks, and construction lines
- Profiles closed, no duplicate or overlapping lines
- Countersink shown as the through hole only
- Operations noted on a PDF and selected in the quote