Designing With Press In Hardware (PEM Style Fasteners)
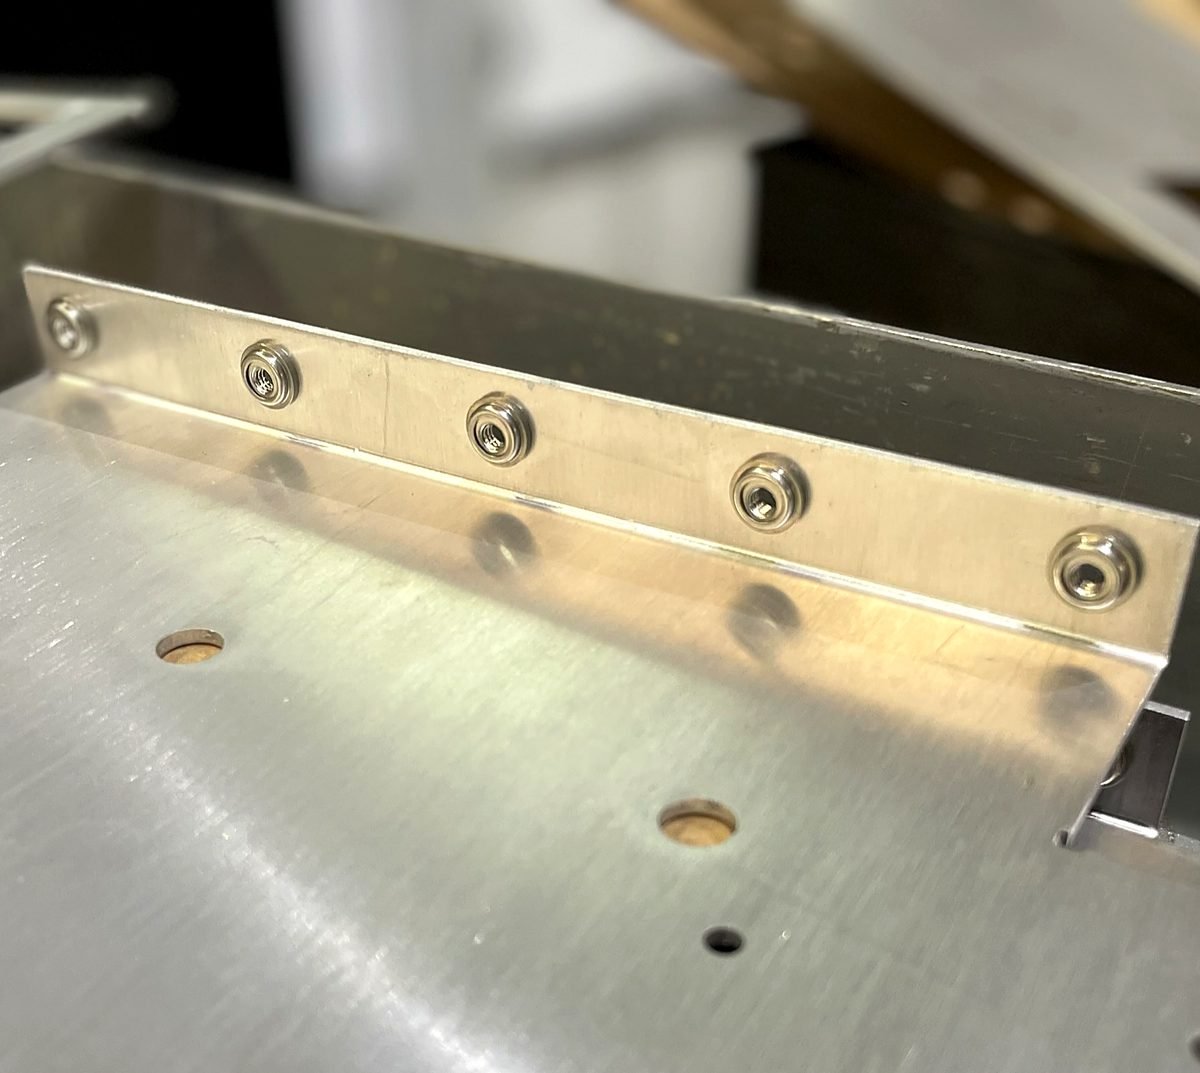
When a sheet is too thin to tap, press in hardware is the answer. A self clinching nut or standoff swaged into the metal gives you a strong, reusable thread that the sheet itself could never hold. This guide covers what press in hardware does, how to match a fastener to your material, and exactly what ACP needs to quote and install it, so the threads on your part are where you want them and hold the way you expect.
What press in hardware does
Self clinching fasteners, the PEM style, press permanently into a punched or cut hole and lock into the sheet. The act of pressing displaces metal around the fastener so it cannot spin or pull out under normal use. The result is a load bearing thread, stud, or standoff in thin material, added without welding and without the heat and distortion welding brings.
They earn their place wherever tapping the sheet directly would leave too few threads to trust. A thin panel simply does not have enough wall to hold a machine screw for many cycles, and a press in nut solves that in one operation.
The three types you will reach for most
- Press in nuts. A captive, reusable thread in a panel that is too thin to tap. The workhorse of enclosures, brackets, and covers.
- Press in studs. A fixed threaded post projecting from the sheet, so a mating part drops over it and fastens with a nut.
- Standoffs. A threaded or unthreaded spacer that holds a board or second panel a set distance off the surface.
All three install the same way, by pressing into a prepared hole, and all three run as hardware insertion at ACP. See Hardware Insertion for the full picture of what the operation covers.
Press in hardware or tap the sheet?
The two ways to put a thread in a part solve different problems, and the sheet thickness usually decides for you:
- Tapping cuts threads straight into the material, so it wants enough wall to hold several full threads. It shines on thicker plate and on bosses. See designing parts for tapping and the Tapping service.
- Press in hardware adds the thread as a separate, harder fastener, so a thin sheet that could never be tapped still gets a strong, reusable thread.
- Rule of thumb. When the sheet is too thin to tap, reach for press in hardware. When there is plenty of wall, tapping is simpler and cheaper.
Match the fastener to the sheet
This is the step that makes or breaks the joint. Every press in fastener has a minimum sheet thickness and a specified hole size printed on its datasheet. If the sheet is thinner than the minimum, or the hole is the wrong diameter, the fastener will not clinch properly and the thread cannot be trusted.
- Pick the specific fastener against its datasheet for your material and thickness first.
- Then design the mounting hole to the exact size that fastener calls for, not a round number that looks close.
- Confirm your chosen material and thickness clear the fastener's minimum. Softer alloys and harder alloys can behave differently in the same nominal thickness.
What ACP needs to quote and install it
Because the fit depends entirely on the fastener you chose, hardware insertion is quoted from specifics, not a general note. To quote and install it, give us four things for every fastener:
- Manufacturer and part number. The exact fastener, so we can confirm it against your material and thickness.
- Quantity. How many of each, per part.
- Location. Where each one sits on the part.
- Installation side. Which face the fastener presses into, since that is a permanent choice.
With those in hand, an estimator confirms the hole size and thickness are compatible and prices the work. The full checklist lives in the Hardware guidelines.
Why it is a custom quote, not an instant one
Hardware insertion runs as an estimator reviewed custom quote rather than through the instant quote. That is by design: the fit, the hole spec, and the install side all depend on the specific fastener and part in front of us, which is more than an automated quote can safely assume. If you are new to the two paths, the Instant Quote vs Custom Quote page lays out when each applies. The cut and formed part still moves fast; the hardware just gets a human confirmation first.
Sequence with bending and finishing
Where the hardware falls in the build order matters. Installation timing can depend on bending and on finishing such as powder coating, plating, or anodizing:
- Bending. A fastener near a bend may need to go in before or after forming so the press brake tooling clears it. See Sheet Metal Bending.
- Finishing. Some hardware installs before a coating and some after, depending on the finish and whether the threads must stay clean. See Finishing & Coating.
- Flag the finish on the order. Call out any coating or plating and the install is sequenced correctly rather than guessed at.
Putting it on the order
The last rule is the one that trips people up most. Only hardware listed on the approved custom quote is actually installed. A drawing callout, an order note, or an attached PDF does not add hardware to the job on its own.
Quick checklist
- Sheet too thin to tap: reach for press in hardware
- Fastener chosen against its datasheet for your material and thickness
- Hole designed to the datasheet size, not a round number
- Material and thickness clear the fastener's minimum sheet thickness
- Manufacturer, part number, quantity, location, and install side provided
- Any bending or finishing flagged so the install is sequenced right
- Every fastener listed on the approved custom quote, not just in a note